Showing posts with label Tutorials. Show all posts

Monday, March 5, 2018

Mail Art Monday!

Hello my friends,

I'm over at the Viva Las VegaStamps Blog with my Monday Mail Art, today showing it to you with a little tutorial.


I'd love to see you there

Monday, May 2, 2016

Mushroom card with Rubber Dance Stamps

Hello my dear Rubber Dance Friends.

I received the Mushroom classes from Helen Allen (including the Mushroom stamp set) from Rubber Dance Stamps.

 There are so many great possibilities what to create with just one stamp set!

 I'd like to share this card today. Everything is made with the Mushroom set. I didn't use any patterned paper for my card.

.... and the inside


When you order the Mushroom Classes you'll receive the whole stamp set including 10 Tutorials, all about this stamp set, from Helen Allen. 

 I was totally surprised about the techniques Helen has given me in her awesome tutorials! It's not only for stamping beginners! I'm learning so much from her. If you are new to stamping, Helen explains every technique in detail.

Thanks for stopping by today!

Products from Rubber Dance
Mushroom Classes
Happy Birthday
 
You'll receive a 15% discount in the shop using the coupon *MAJO2016*, 
why don't you hop on over to the shop ...

Happy Crafting ♥

Sunday, December 6, 2015

Winter Card and Tutorial ♥

Hello, my crafty friends, today I show you a card made for this beautiful season.


I started with white cardstock, die cut snowflakes, Gesso, Napkin Varnish and Distress Spray Stain *Picket Fence* and *Stormy Sky*. I used the varnish to glue the snowflakes to the card and applied some gesso to make the surface a little smoother. I sprayed with Distress Stains.

 To give it a more frosty look I added embossing powder, but brushed most of it off again, I wanted just a bit of shimmer, I show you a close up ....


I stamped my sentiment on vellum and heat embossed it.


The Poinsettias were cut from burlap, I added a little button and some twine to finish my "frosty" card.


Have a wonderful time and I hope you find enough time to craft!

 Stamp set from Rubber Dance:
Winter Wonderland


Don't forget about the 15% discount code you'll get on your next order
in the Rubber Dance Online Store using "majo2015"

Wednesday, October 15, 2014

Mason Jar with Rubber Dance Stamps!


Hello everyone, it's Majo from the Design Team here at Rubber Dance Stamps, and today I want to show you a “Mason Jar”  I created to give to my friend along with tickets for the Museum of Art!

I cut my templates with the Sizzix Mason Jar die designed by Eileen Hull.

 I stamped the flowers from the B2-L: Vintage Bird Set and heat embossed them with white embossing powder, which I ironed off to get a smooth texture again. I applied Distress ink “Bundled Sage” and Wild Honey” and spritzed & flicked with water.

This shows that the embossed areas don’t take colour, creating an interesting background.

I stamped the beautiful lady and the sentiment from the DAV1-L: Da Vinci Set on either panel. 

I cut a small tag and stamped the word “ART”. The “lid” was stamped with the Burlap background stamp #BK2-2E: Burlap and heat embossed with chunky embossing powder.

 I assembled all parts with double sided adhesive tape.
 This is the back of my jar …..

….. and here you see the front!

 Have fun crafting!

Friday, April 19, 2013

Some little home decor ......

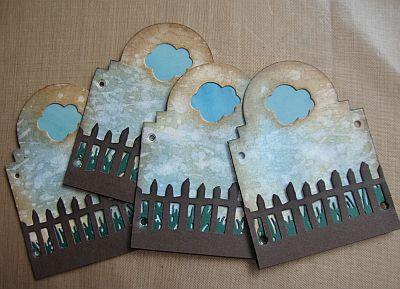
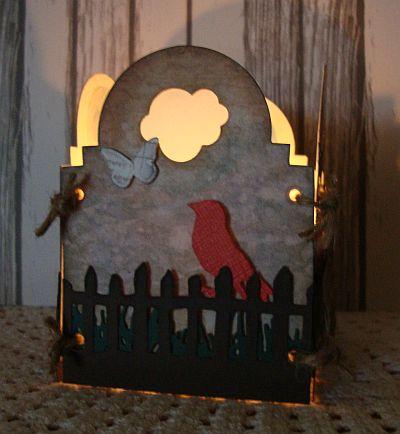
It was my turn to post a tutorial at My Sketch World. I decided to go for home decor, a lantern for our table on the terrace.

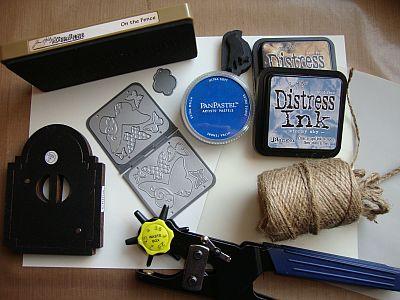
This is what I need for my creation:
Image

Cardstock (Not to light!), Vellum, punch, dies, cord, pan pastel,
distress ink, water spritzer

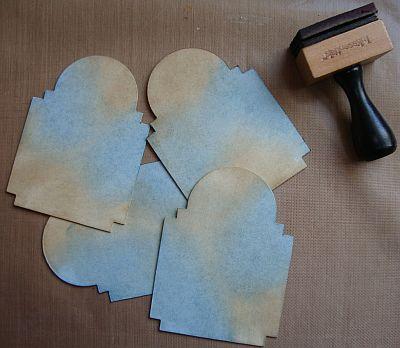
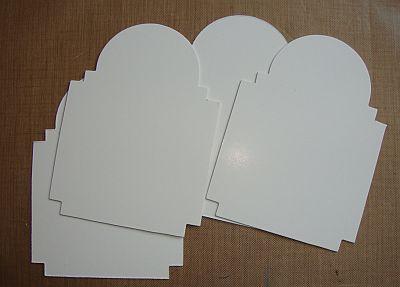
I cut four templates with a Sizzix die; you can cut any shape,
 such as a rectangle, an arch, just anything!
Image

I applied distress ink .....

Image

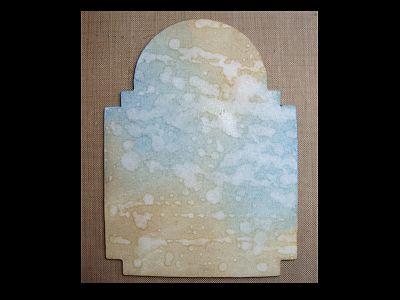
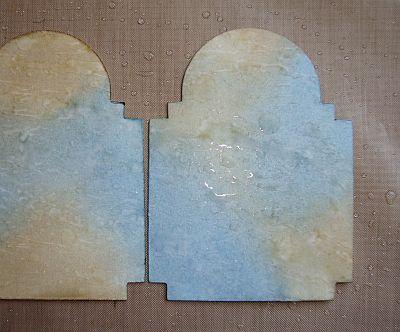
.... and “spritzed and flicked” it with water …..
Image

….. all dried up now!

Image

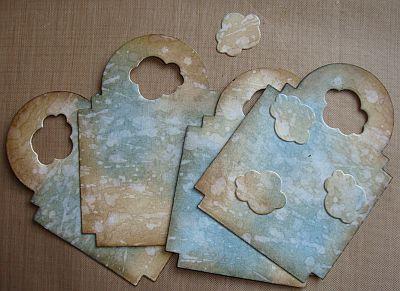
I cut some “holes” into the top, you can use any die or punch,
such as flowers, snowflakes, circles etc.
Image

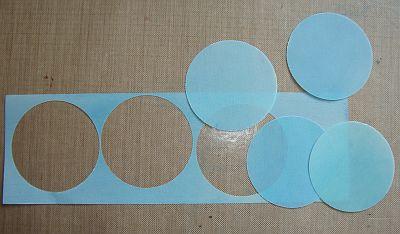
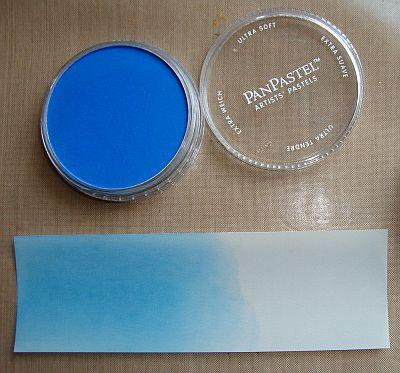
I applied Pan Pastel to the vellum …..
Image

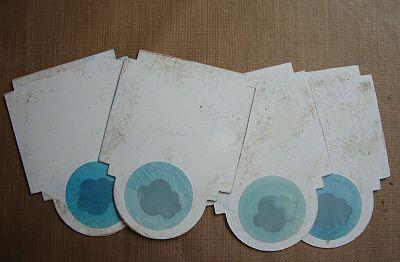
….. punched circles …..

Image

….. and glued them to the back of the template.
Image

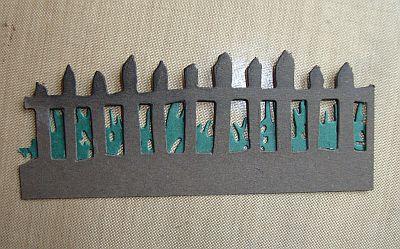
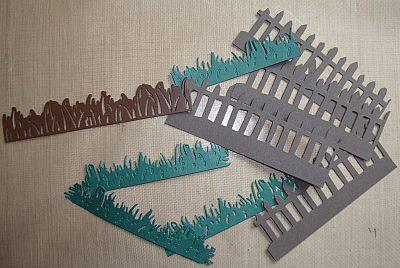
Now it’s time for the decoration. I cut a fence and as and
afterthought also some grass,
Image

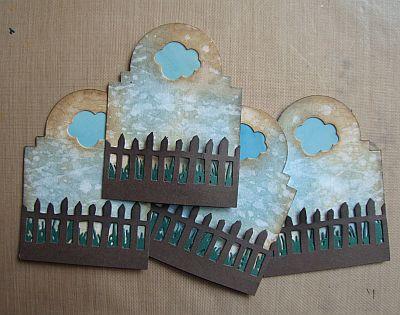
which I glued together …..

Image

….. and adhered to the template, creating a little “belly”!
Image

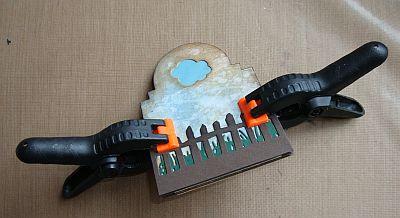
I fixed all four templates with a tool (clamp) and punched
the holes. This way they will all be on the right position!
Image

Done ;)

Image

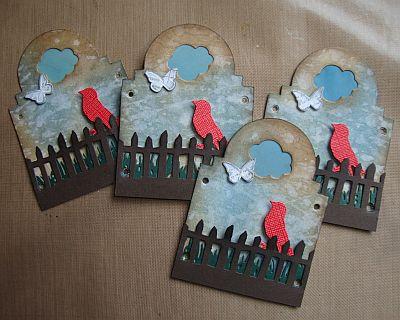
I added the birds and the butterflies (also an afterthought) ….
Image

….. and tied all templates together with a cord. I always use a pen
or something similar in between, this way my “hinges”
can still move and I don’t ruin the sides of my templates!
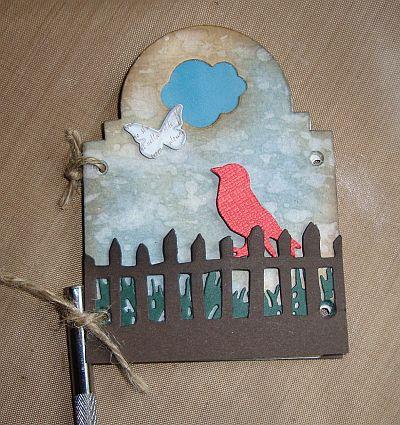
Image

A little present for a loved one, a little take along for a friend,
or just put it on the mantel or on the terrace in Summer,
that`s where I keep mine ;)
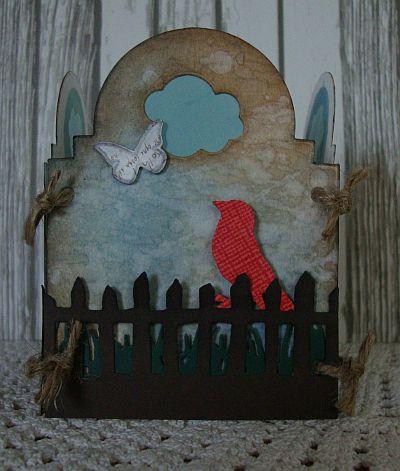
Image

Can’t wait for night to come ……

Image

Thanks so much for following me through the journey of 18 pictures.
 I am still a beginner with tutorials!